Your cart
There are no more items in your cart


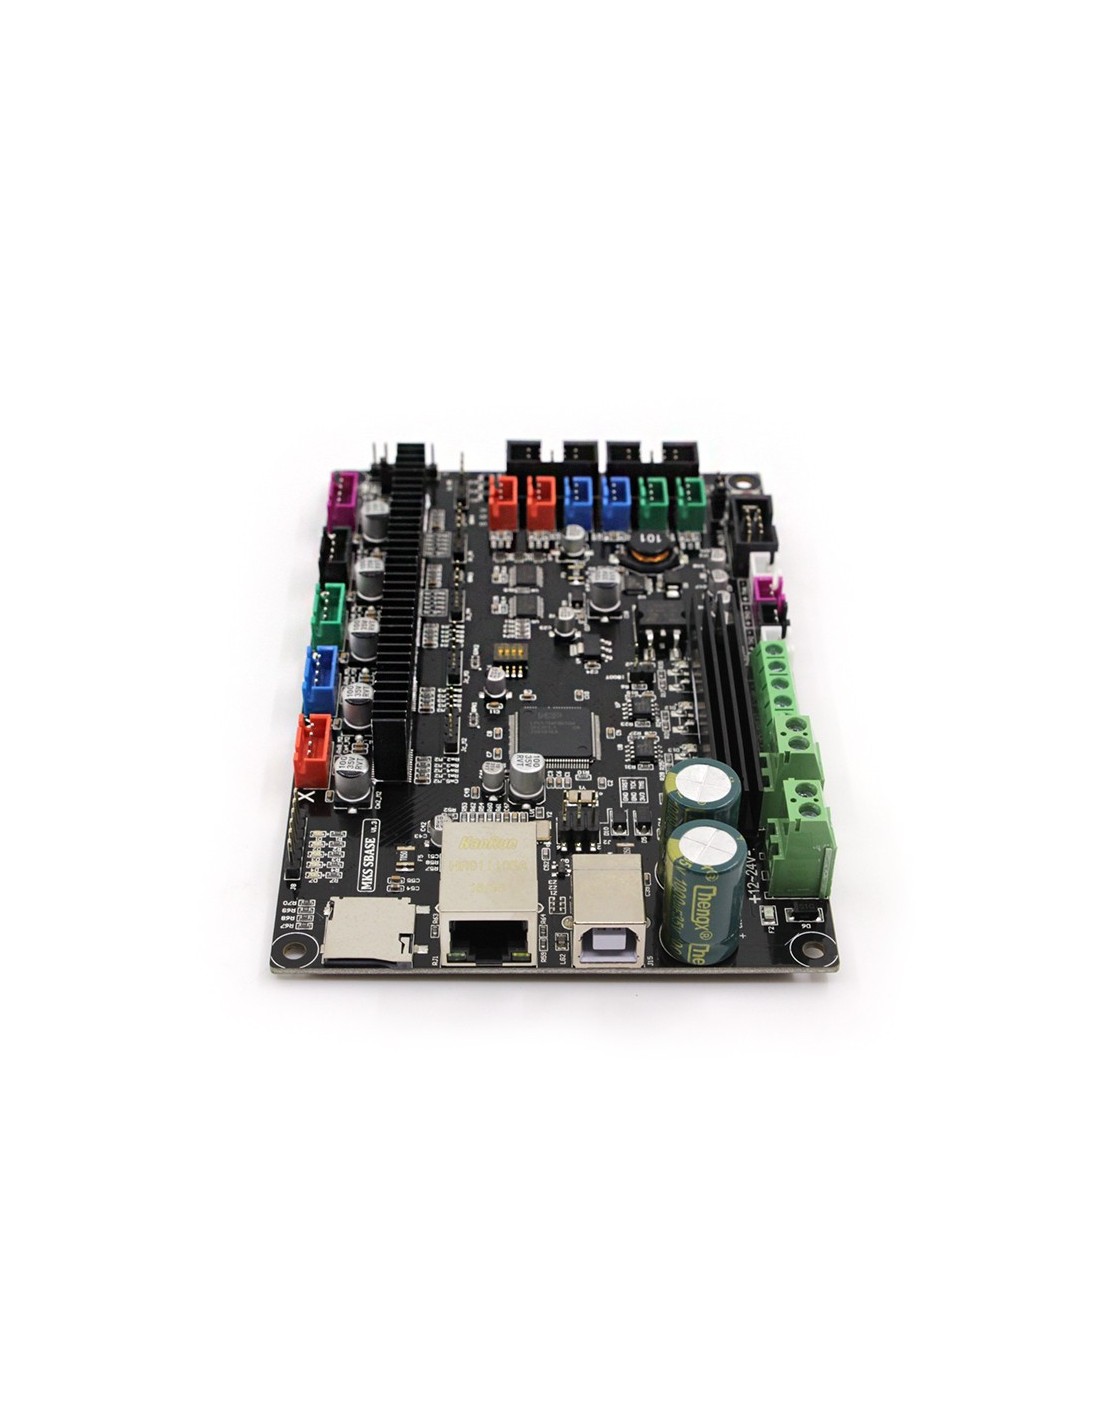
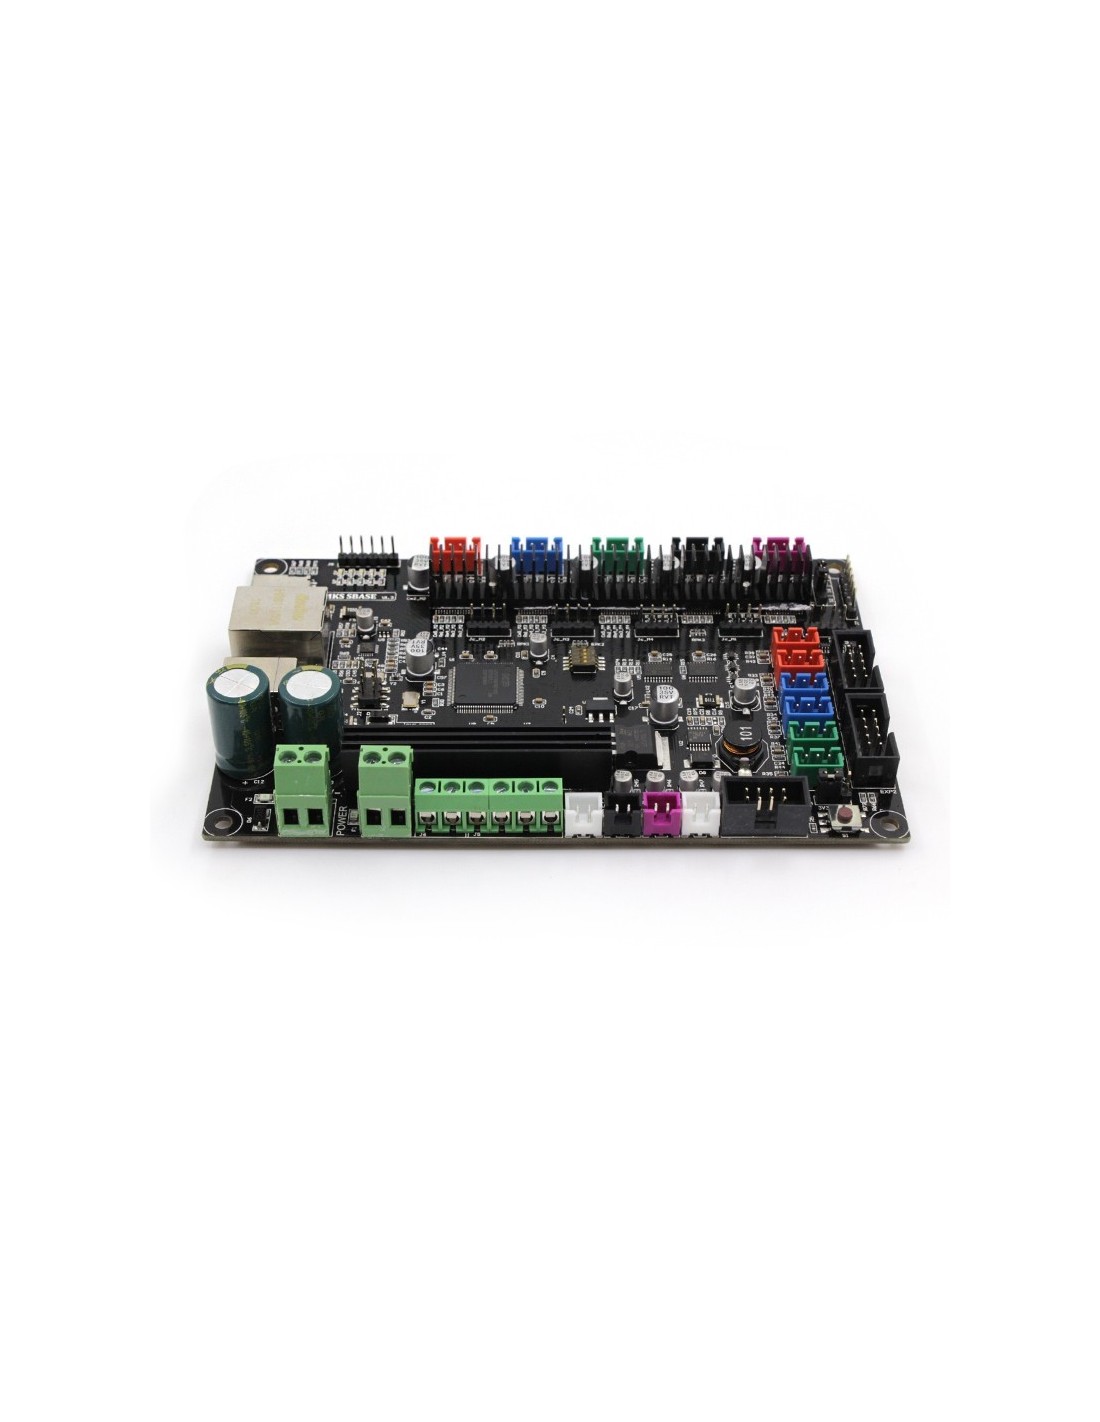
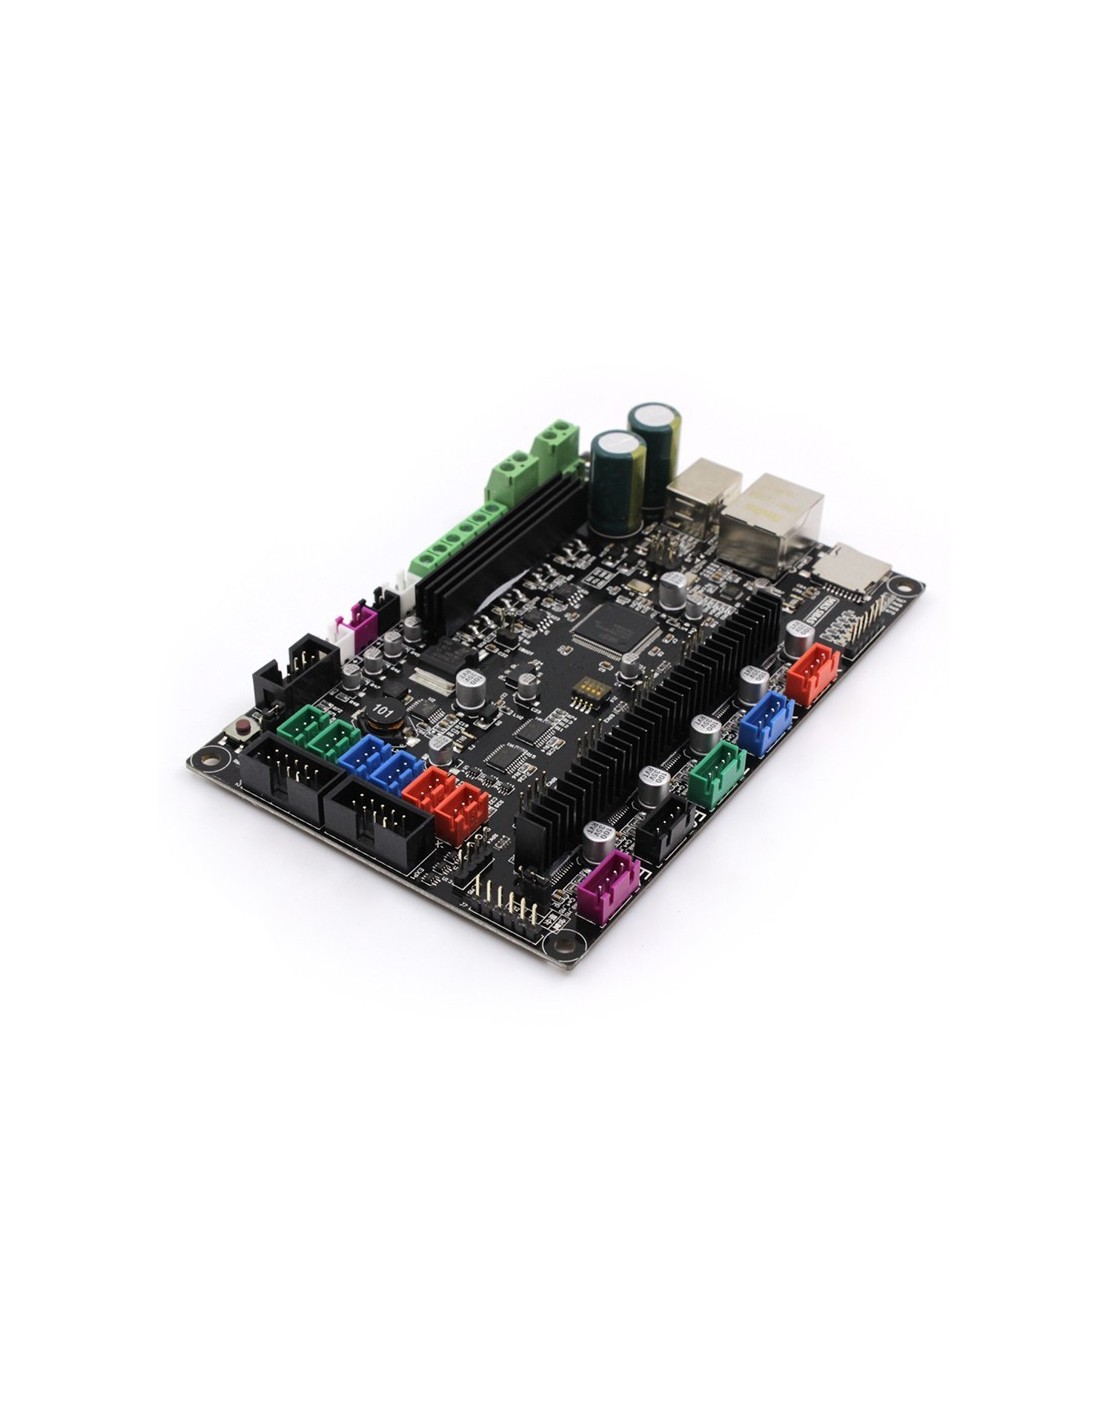
1 with 32-bit 100M Cortex-M3 LPC 1768 master chip, performance greatly improved.
2 to support a high degree of modular open source firmware to facilitate the secondary development, eliminating the core code cannot grasp the worries.
3 support network function, through the network cable can be directly connected to the network, the use of the browser can achieve remote control.
4 using 8825 as a motor driver to support 32 subdivision, performance far more than 4988, using SOP package, better heat dissipation.
5 the stepper motor current is set directly, without worrying about adjusting the current when the drive or potentiometer is damaged.
6, the circuit board using high-quality 4-layer board, and specifically for the heat optimization.
7, using a dedicated power chip to support 12V-24V power input.
8, can be linked to the development base 12864LCD.
9, can be connected to the development base of the touchscreen MKS TFT28.
Installation Test Guide:
First, the preparatory work:
1, the software: enter https://github.com/makerbase-mks/MKS-SBASEdownload information.
2, the hardware: In addition to the motherboard, but also need a stepping motor 45, a limit switch, a thermistor, 12V or 24V power supply one.
3, TF card: MKS Sbase motherboard must be inserted TF card to use, you must prepare a TF card, and pay attention not to use the bad quality of the TF card;
Second, the parameter configuration:
1, firmware installation or upgrade: <firmware> firmware.bin firmware files copied to the TF card root directory, be careful not to modify the file name.
2, the configuration file preparation: <config> directory, the delta machine select config-mks-delta.txt, ordinary XYZ machine select config-mks-xyz.txt. Copy the file to the TF card root directory, pay attention to the file name to be modified to config.txt.
3, the parameter configuration: According to the situation of the machine directly with WordPad open to modify config.txt to complete the parameter configuration.
Third, the hardware connection:
1, in accordance with the interface diagram to connect the hardware
2, the TF card into the card slot
3, connect the power, please pay special attention to positive and negative
Fourth, the network test:
1, the browser test: If you have configured the network IP, and even the Internet cable. You can directly use the phone or PC, enter the printer IP address, you can display the control interface for network testing. Note that some browsers may not support the suggestion with Google Chrome.
2, Printrun (under the software) Remote control access: Open directly in the port (Port) position to enter the IP address: 23 For example: 192.168.3.222: 23, you can connect, and then control.
5, online test:
1, driver installation: the motherboard to connect PC, update driver, driver files in the directory.
2, the driver will be installed after the success of a new COM port.
3, use the Printrun software, select the correct COM port connection control.
No reviews
Tap to zoom